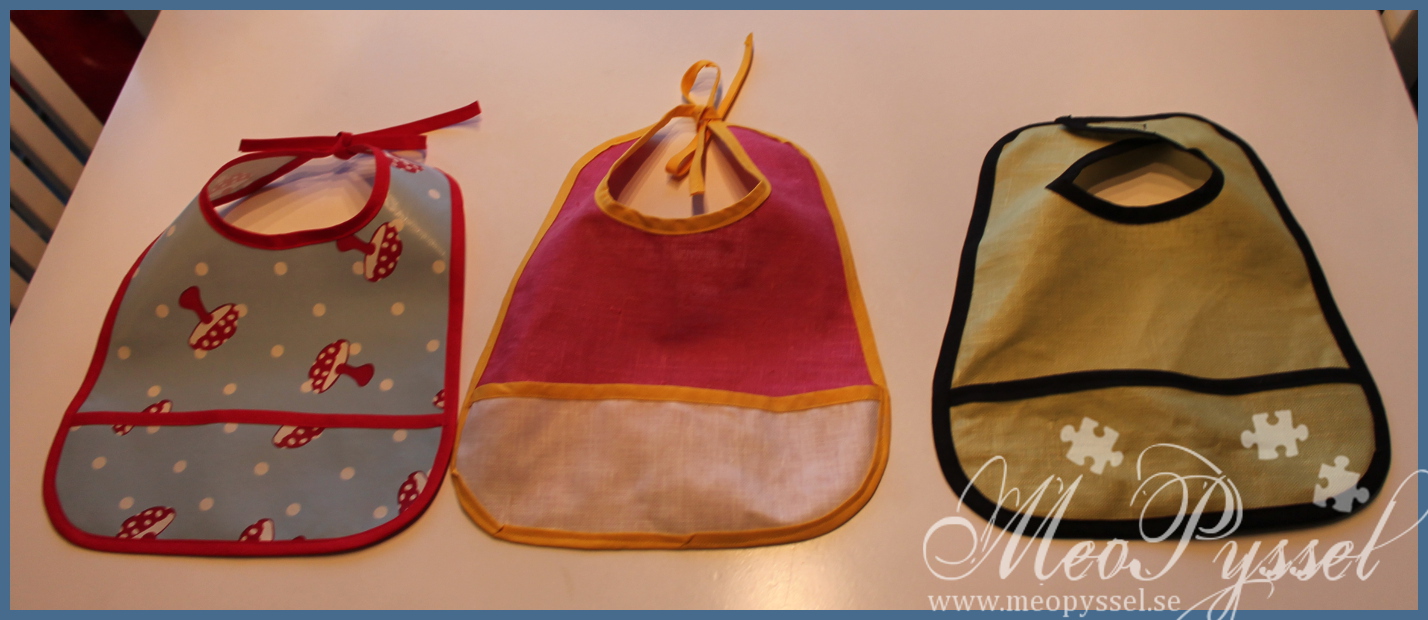
 Freja is now old enough to get some food, but that also means she is old enough to get food all over. We bought a babybjörn-bib but it’s to firm and she is to short so it gets uncomfortable for her, so I have been looking around for some soft bibs and didn’t find any. Or at least not any for a price I’m willing to pay. Then I decided to see if I could find some patterns online and make my own. I found a couple of ones but I really liked the one from Linda at Craftaholic anonymous, and I have used her Infant one for all the three bibs here (The infant and the toddler pattern is the same around the neckline and just differ on the length).
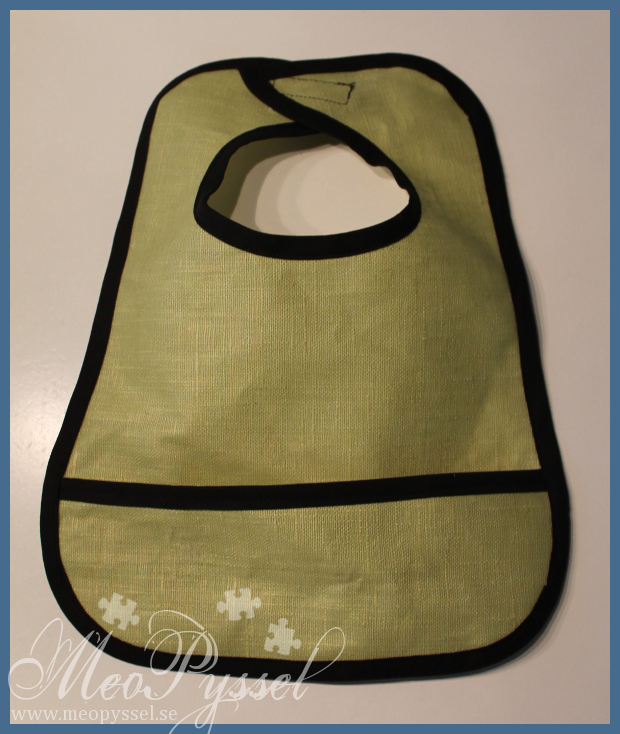 I started out with doing the green one and for that one I followed that pattern. The green is vaxed fabric and the black is regular cotton liner. The neckline is a perfect fit for my daughter so I fear that it will be to small soon so for the next one I altered the neckline. I really do like the pattern, the shape and length is perfect and I like that the pattern isn’t handmade. It’s easy to trace and is symmetrical. The green bib have been used and cleaned before this picture and are therefore a bit wrinkly, which doesn’t bother me (same with the pink and white one).
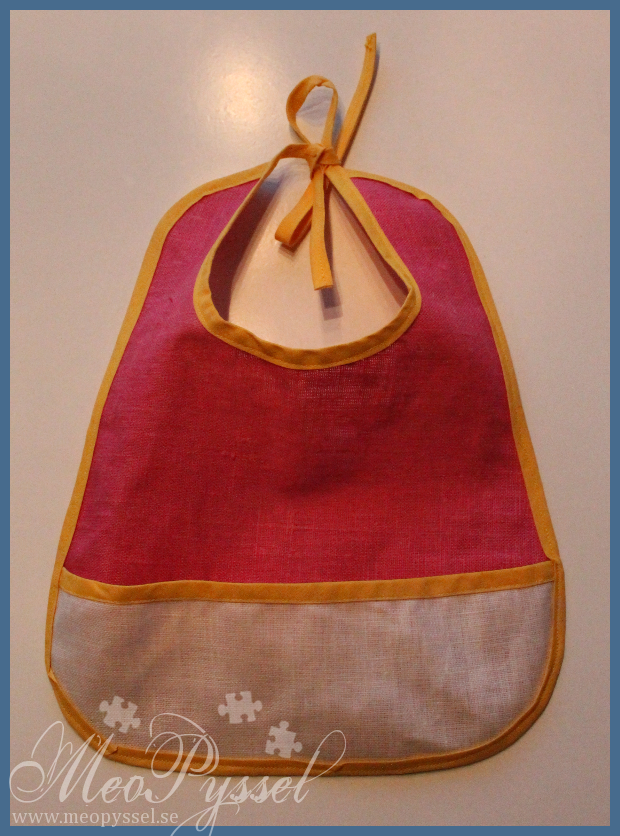 For the next one I altered the neckline by just drawing a straight line from the inside of the neckline and up to the edge. I also made the pocket a bit wider so it would stand out more then one the green one, but after using the green one the pocket stands out enough so I won’t do that alteration on the future ones. One this one I was in a hurry when it sewed the lining so it’s folded on some places (sorry for that). I really like the color-combination of this one and I look forward to made more bibs in different colors. I intend to decorate the pocket on future ones but I haven’t found a way to stitch on letters and shape which gets nice enough, yet. This one is also made with vaxed fabric and cotton liner.
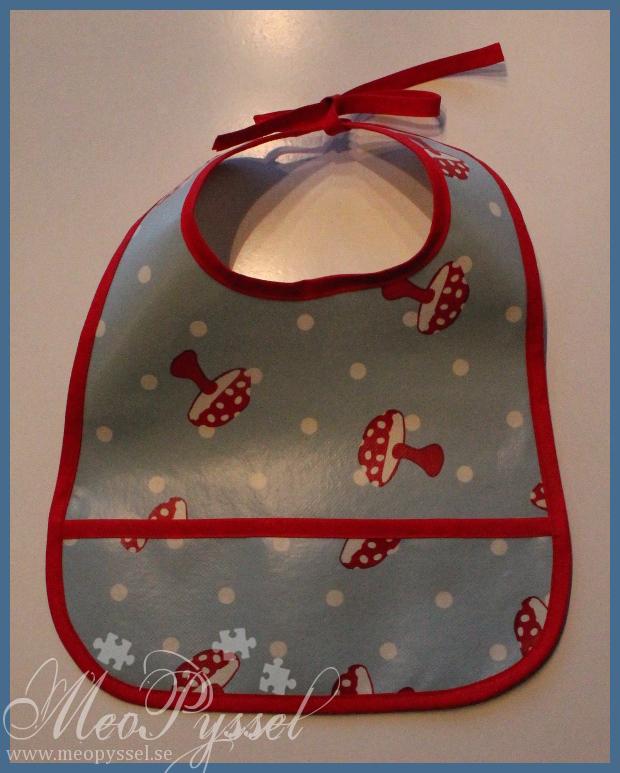 The last one I made is from oil-cloth (a piece of a tablecloth) which is a bit stiffer then the vaxed fabric (Freja can use it but I think it needs to be used more to soften the fabric some, now it looks a bit uncomfortable but still usable). I just love the mushrooms! One this one I also altered the neck but i keep the pocket as the pattern made it.
Now when I have made some and got a hang of it a bib takes about half an hour to make from start to end. So it’s easy and fast. I really recommend it for those with infants (much cheaper also). Example: The muchroom-bib roughly costed 4 Euro (for liner and fabric) and then I have fabric left for probably two more bibs. I will make lots of more (have lots of fabric left) and I intend to leave some behind at Freja’s Grandmothers, aunts and so on so I don’t need to bring it with me all the time. I also plan to make some as gifts but that is probably something for later.
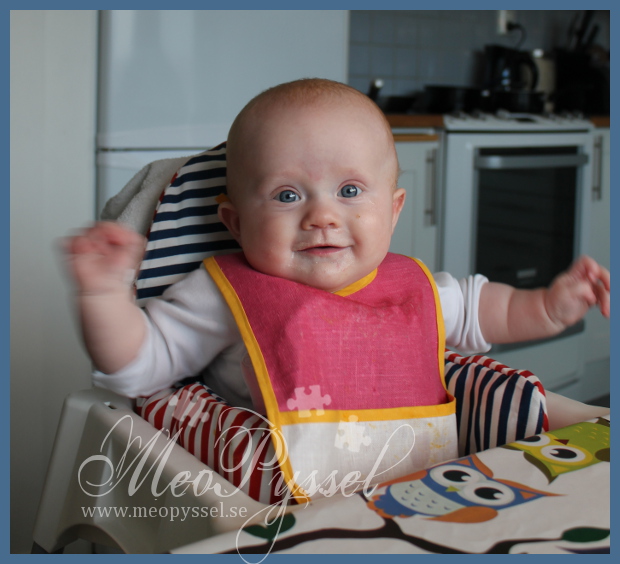
And here comes a picture of Freja eating and smearing bana-pure all over in her pretty bib.
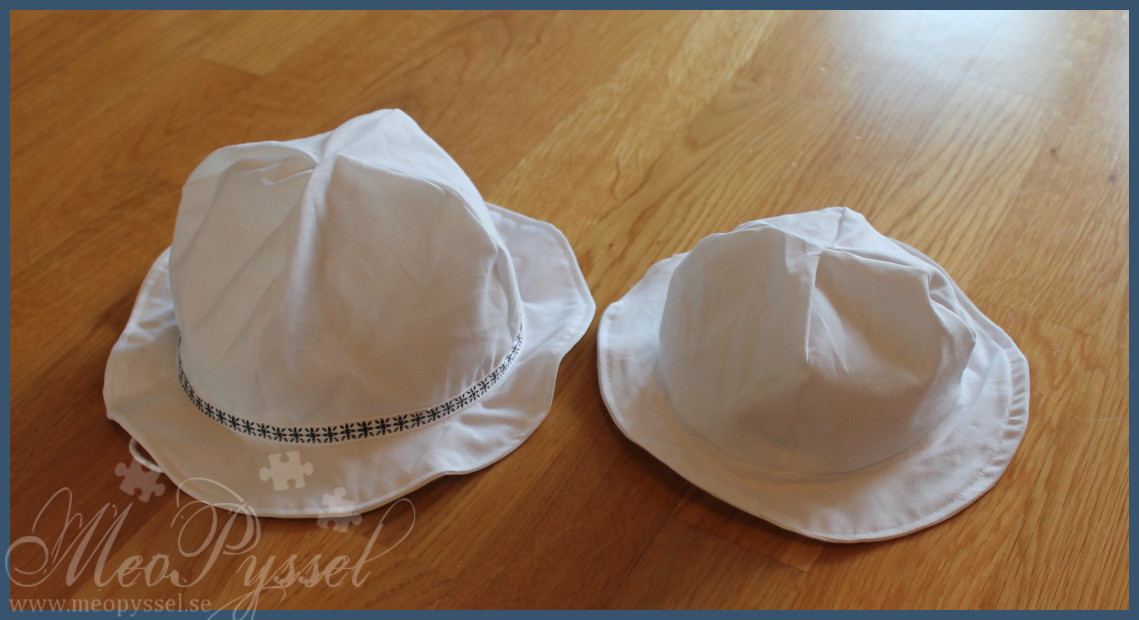
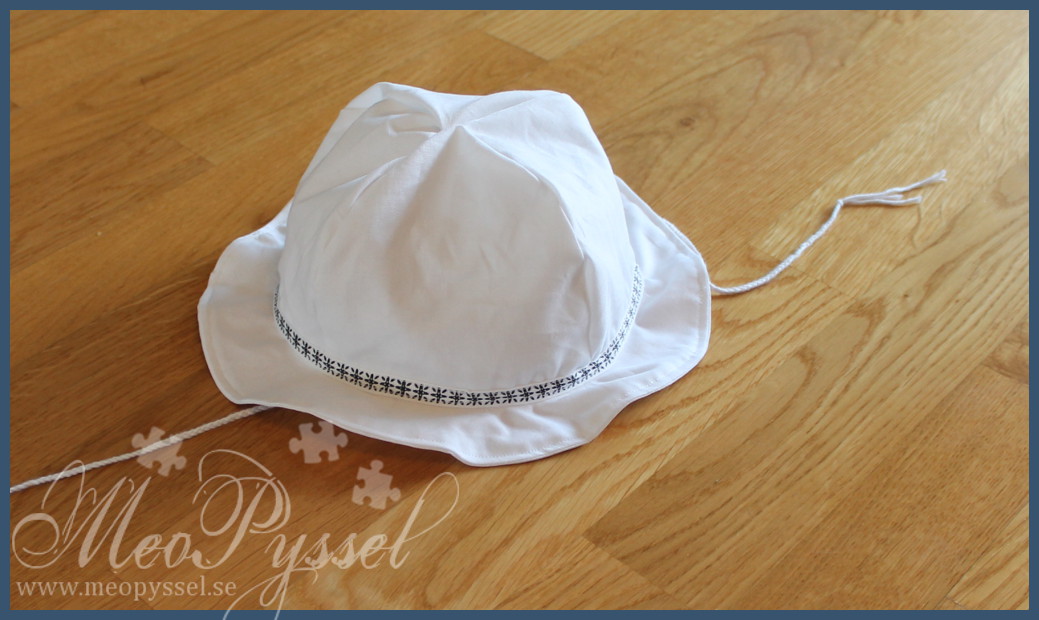 This easter have just been so wonderful. The weather have been warm and sunny all day so we have been out having lots of fun. A walk in the park, barbecue and just a couple of walks. Unfortunately we wasn’t really prepared baby-wise. We soon realized that Freja only have winter-hats. Due to all shops being closed for easter I started to Google pattern for sun-hats. I found this tutorial and pattern from Bethany.
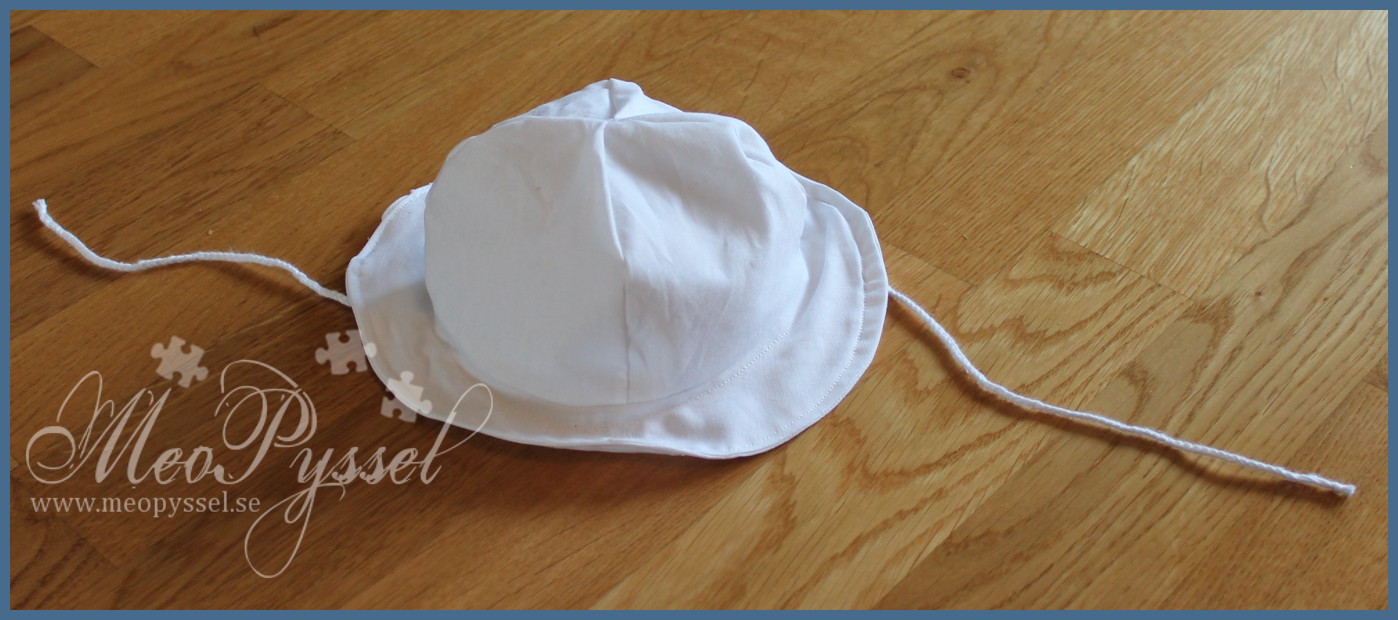 It was really easy to follow (I didn’t cut and sew the straps, instead I breaded some yarn. I think that a strap that you can tie is better so it can be adjusted for size and occasion) and the hat is just so cute… but to small for my daughter. The hat I made from Bathany’s pattern is approximately 38cm in diameter (my daughter has 43).