Black and White Mice with icecream

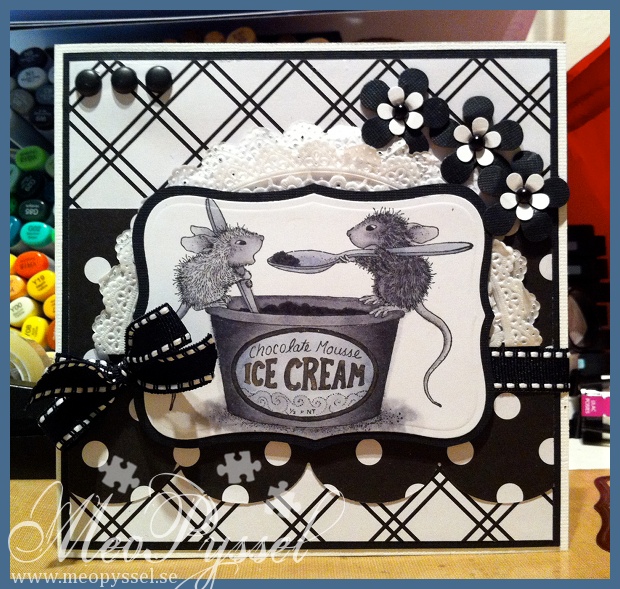
 So i just made the first card in 2012, whoho! The card is for an old high scool-friend that turns 25 next week. I have no idea what colors she like and i knew House Mouse had a black and white challnge i thought it would be perfect.

The mice i colored with mostly neutral grays and some addition of cold grays. I really like how the darker mice’s fur turned out, the light one was hard to get the texture without making it darker so i kept it as i was. The edge of the ice cream-label and the text is also painted with some sakura stardust-pen, it’s a bit hard to see on the picture but you can see that it do have another shade then the rest.

The papers that is used is of an unknown brand, I did buy a couple of sheets as a pack but they came as loose papers. If anyone recognize them please tell me. The scalloped edge is made with Jumbo Scalloped from My Favorite Things. The flowers are made with EK Sucess’ Medium retro Flower and Flowerpower punch. I also used some doilies and they are my forgotten item for this card. A long time ago i bought a lot of dodilies from Panduro but they apparently ended up in the bottom of my paperstash, because that were i found them when i went into the wardrobe and for my hidden-away-papers.

But the most exciting is the brads! Some days ago i got a nice package home in in mailbox containing We R Memory Keepers Brad Setter and Piercing Tool. I ordered it when Amy recommended it with the comment that it might seem like a waster but that once you use it you’ll love it. I always get annoyed that my brads don’t line up due to the fact that when i open the legs they get uneven. And after using it on this card I just have to say: I LOVE IT! It’s simple, saves my fingers from getting the bradlegs under my nails, and the brads get straight- so simple and just wonderful!

Copic: N1, N3, N5, N7, N9, C2, C4, 0

Dies: Spellbinders – nestabilities – labels 8. My Favorite Thing – Jumbo Scallop

Other: EK Success – Retro Flower Medium and Flower Power

A New Year and top 7 from 2011

Happy New Year to everyone!

So I decided to make top 5 of my cards i made the last year. And i will try go get better ones during this year. This is also my way of playing around now when I’m away from home:)

So after looking at the cards made last year i realized that i couldn’t keep it to only 5 so i had to come do a top 7 instead. So here is my top 7 (in no specific order)

Holly Jolly Deer

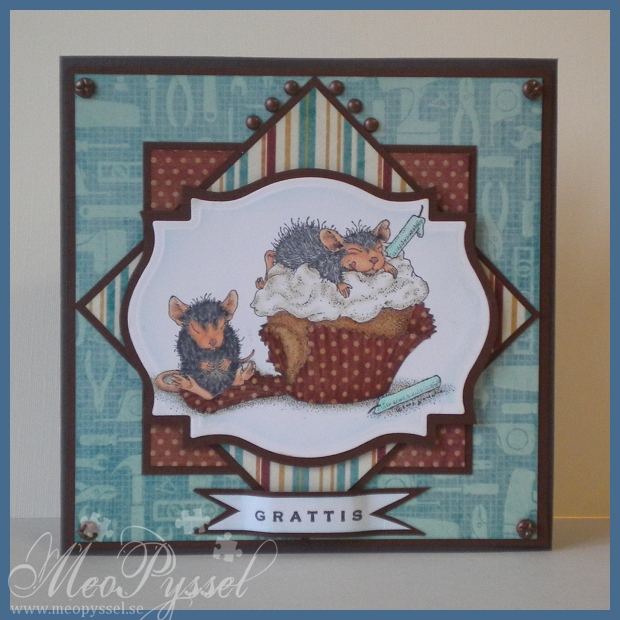
A Micely Cupcake for my grandfather

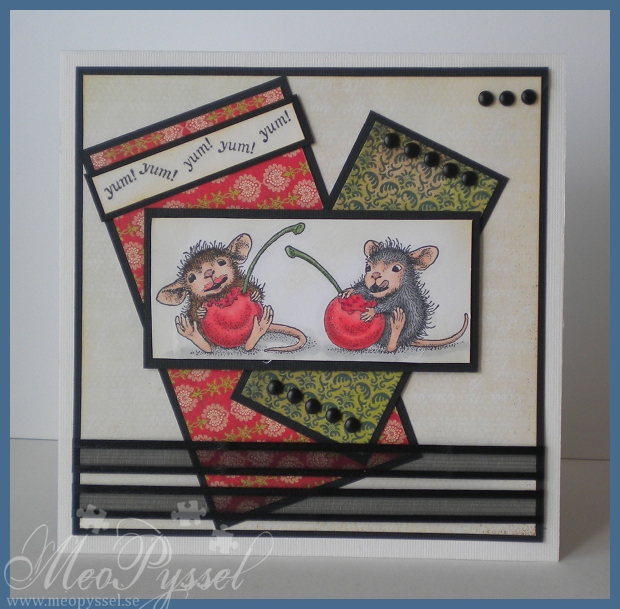
Fruity fun on Hello Luscious

I Got my Mojo back

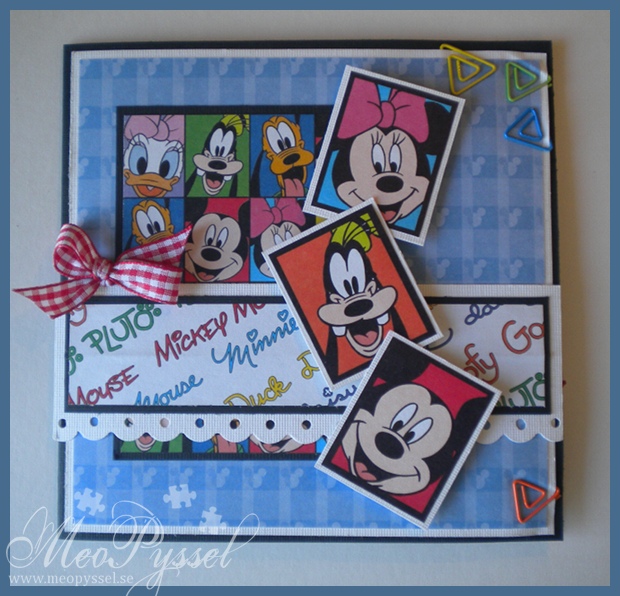
Disney’s Mickey and friends

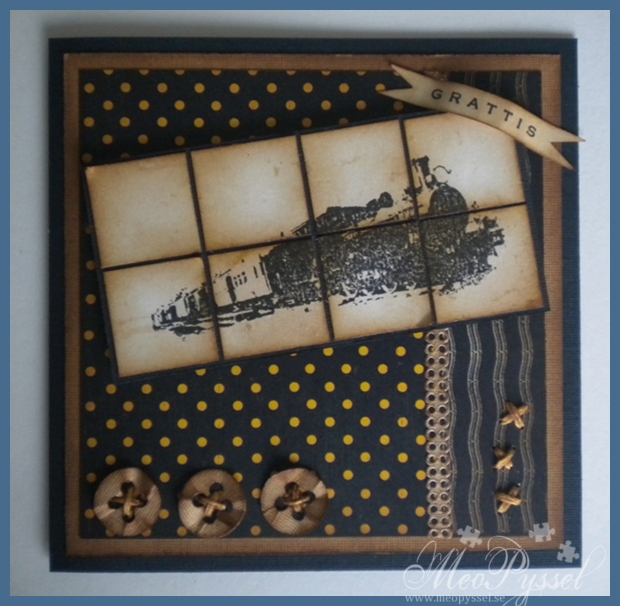
Masuline Train

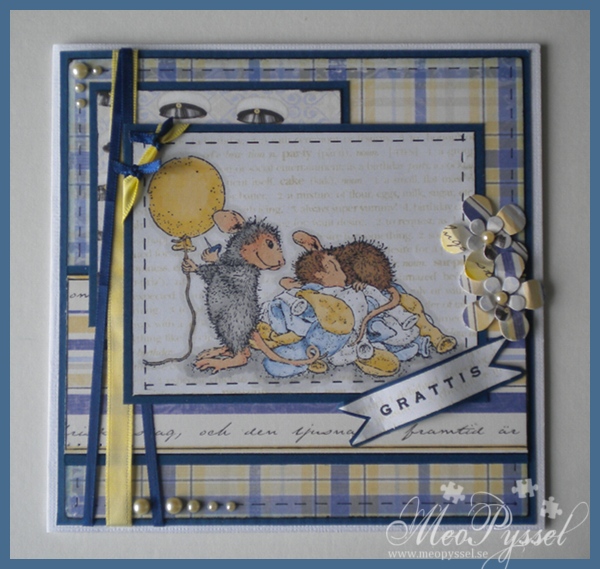
A House Mouse Graduation-card
Theo’s Baptism-card


So my lovely godson Theo will get baptist this weekend and  he will be officially mine and Björn’s godson, so i made a card to go with his gift. We have bought cufflinks ingraved with ”Theo” and I hope he will like them when he gets older.

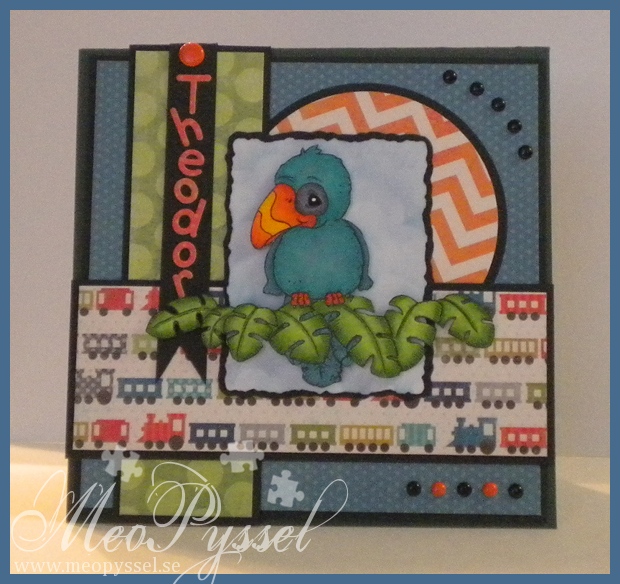
I sat a long time thinking about what stamp I could use for this card, I always think it so hard for a little guy. But i finally decided to use Magnolia’s Parrot and the Jungle leaves (from the pet collection). I had a bit of a problem to make the masking to get the parrot sit on the leaves. I had to first stamp the body of the Parrot and then masking it off. Then i stamped the leaves on top and masked then off also so i could stamp the feathers so they would peek out from underneath the leaves. The parrot and the leaves are of coarse colored with copics. I didn’t have any muted blue-greens so i used a lot of gray over so dull it out a bit.  The frame is Spellbinder’s deckled rectangles and i made the sky behind with a combination of Faded jeans and Broken china.

The Papers that i used are from My minds Eye Out of the blue collection and the Fly a Kite collection. And I just love the trains – they are the reason i bought them from the beginning. The letters for ”Theodor” is Provocraft’s Baby Face alphabet. The black brads is some generic kind that i buy lots of and the orange ones, bot big and small, is from Paper Wishes Disney-set.

Stamps: Magnolia – Parrot and Jungle Leaves

Ink: Distress Ink – Faded Jeans

Copic: YR02, YR16, YR18, Y13, Y17, Y19, YG11, YG13, YG17, BG15, BG13, BG11, C4, C6, 0

Paper: My Minds eye – Fly a kite and Out of the Blue

Other: Spellbinder – nestabilities – deckled rectangles. Provocraft- Baby face

Holly Jolly Deer

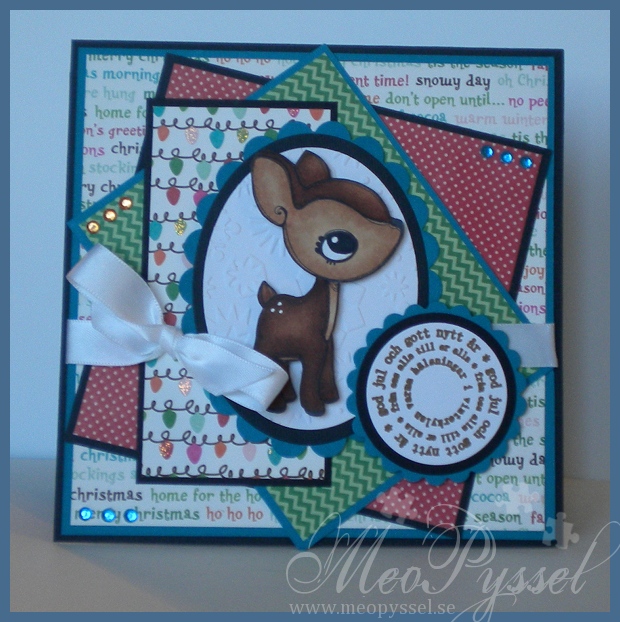
I have to admit that i have fallen head over heels with the deer and the squirrls from the Greeting Farm’s Forest friends. I did stamp up some during the scrapgathering but im starting to run low on them,so i just HAD to order the set for myself – a good use for the money i got from my grandma in cristmas gift. Some other (lots…) find it’s way into my ordering-baskets so I can’t wait for my mailbox to be full of goodies, but it will probobly be for after the 7th when i get home again from the baptism of my godson (that’s the card that is comming up).

I have been thinking a lot about this card, especially the papers and I have been wondering what would be suitable as a focal to them, so after some thinking i decided that the Deer would be good- as a raindeer-feel. So i colored the Deer with Copics, and got happy with it and then started to pull a couple of papers from the Holly Jolly Christmas-collection from Echo Park, then i got some cardstock to match and put it all in front of me. And then i spilled the biggest glass of milk over it all! Let’s just say that it was annoying and that i dried all the papers with my embossing-gun. All paper was ok, a bit wobbly but ok, except for the deer so i had to redo him, i have to say that the second one got a bit better- but still….

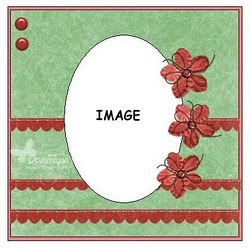
I used a Cute Card Thursday’s Sketch for the layout, just changing a bit. I also followed the colors of this weeks Shabby Tea Room.

The decorations on this card is mostly the rhinestones and the ribbon but i also put a hint of diamond stickles on some of the christmaslight-paper. The background of the Deer is made with some nestabilities (scalloped and normal oval) and the white paper is embossed with Provocraft’s embossingfolder Snowflakes. The greeting is stamped with the distress Ink Gathered Twigs.

Stamp: The Greeting Farm – Forest Friends. Arkivet – cirkel God Jul

Copic: E31, E33, E35, E37, E39, C10 + White Gelly Roll Pen

Paper: Echo Park – Holly Jolly Christmas

Dies: Spellbinders – nestabilities – Scalloped oval, oval, scalloped circle, circle. Provocraft – embossingfolder – Snowflakes

Other: Diamond Stickles. Distress Ink – Gathered Twigs. Colored Rhinestones.

Shabby Tearooms Inspirational Photo


Labels for Beerbottles

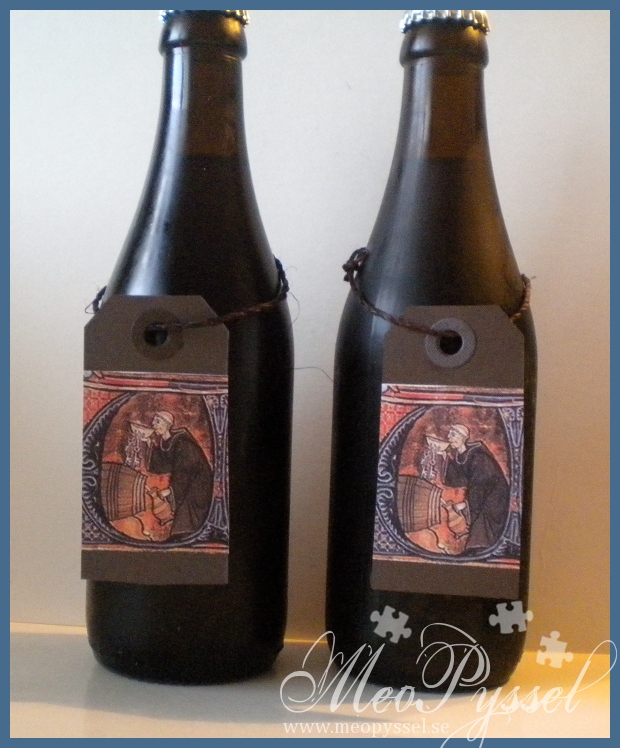
So today we did some labels for one Björn’s beers. The label is just cut out in brown cardstock with Tim Holtz’s die Tiny tab and tags. I did use up all my scraps of brown, so they are in different shades of brown – but only the dark ones. The circles that is added is in another brown, or black, to get some contrast. The image is one that Björn found (online I think) that was a good one for this type of beer.

We decided to make the labels as hang-ons so we could re-use the labels for the next batch with same recipe. The twine that is used is a stiff one (bit hard to tie) but give of this nice rustic look.

Tim Hotlz – Tiny Tabs & tags.

Brown hard twine.

Black and White Christmascandles

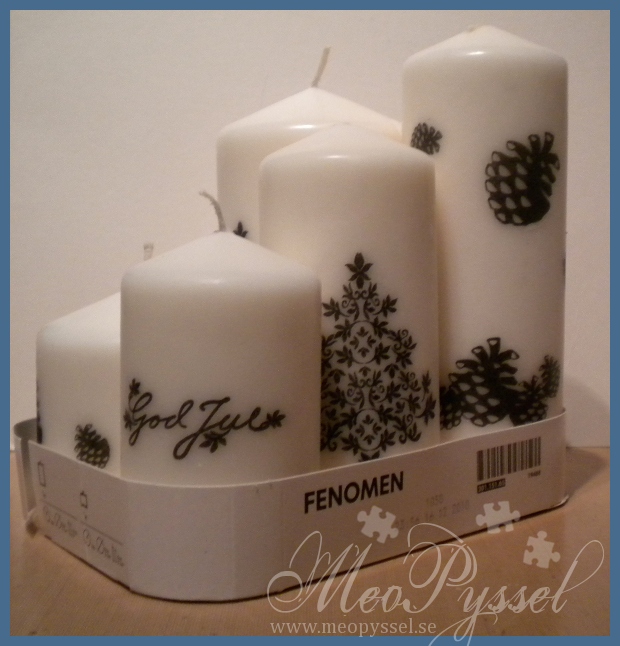
So because i already gave my parents their christmasgifts two weeks before Christmas i wanted to give them something little on chritsmas eve, so i decorated some candles.

The candles are ”Fenomen” from IKEA and i did use two sets of stamps from Panduro. The Pinecone one and the christmas tree one.

One thing i didn’t remember from the last time i did candles was that the silk paper is so thin that when you stamp on it the ink will get through. Fortunate i had my craftmat under, but i was annoying. I did like how the pinecones look, they are striking and bold.

Stamps: Panduro – Talkottar (”pinecones”) and Gran/God Jul (”Christmas tree/Merry Christmas”)

Other: Candles (from IKEA), White silk paper, wax-paper.

Playing around

Some weeks ago i ordered Making frosty friends and the Critters in the snow-sets from Lawn Fawn. I saw them in podcast with Christine, i really feel in love with the cards she made so i wanted to do some similar (which is on the way).

But due to sickness, new job, christmascards and birthdays they have been on my desk, looking very sadly in my direction. And now when Björn is cooking i sat down and started to play with them and the Archival Brilliance Graphite Black that I got as a christmasgift from my brother. And i can only say WOW! I love them both! The snowmen are so fun to create and even if they are clearstamps that are just so good! They keep the ink and give such wonderful lines, it was a long time ago i got this worked up about just stamping, and the inkpad then… i love it! It smells a bit different then I’m use to but it get so black, all covering black! I just had to share it to the world!

Happy, happy, happy!

A Wintery Birthday card

 (better picture coming tomorrow when I can take one in daylight)

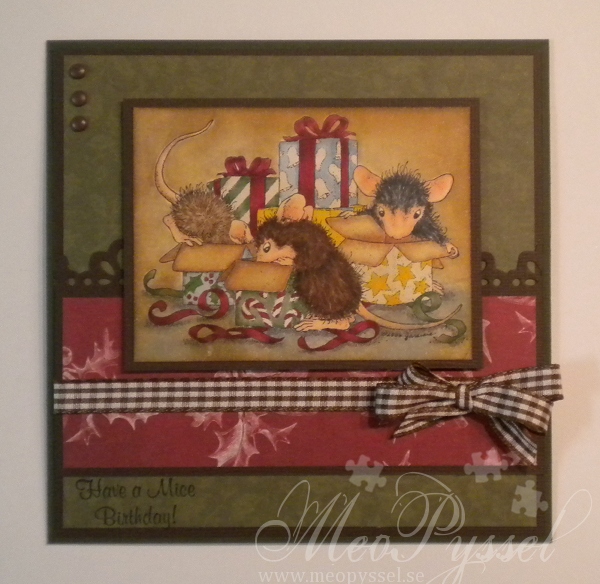
So I just finished up another card that have been in peaces on my desk for months. I did color the mice for a long time ago and did choose a couple of papers from the DCWV’s Christmas pack, but i just ended up using two of them. The card if for my grandmothers birthday next week. The layout is using this weeks Simon Says Stamp Challenge that is a sketch. I don’t really know what to say more, i wish a had some of the spellbinders grommet tags for the sentiment, but nothing i had at home looked good and i don’t really think that the small text is enough either but i was the best i could come up with. The border is made with on of the inserts from Spellbinders edgeabilities, the classic rick rack one. Because it was the insert i traced the edges and cut it out.

Copic: E13, E11, E21, E00, E04, E31, E33, E35, R29, R39, E59, E40, E41, YG17, YG08, E21, E31, G85, YG67, B91, B93, N5, N3, N1, E57, E49, E29, E11, N9, N7, N5, N3, E57, E33, E31, E43, 0

Stamp: House Mouse – Christmas Opening Presents and Spring: Dip

Other: Weathered Wood and Vintage Photo distress Inks. Spellbinders – Edgeabilities – Classic Ric Rac

Decorated Tea-balls

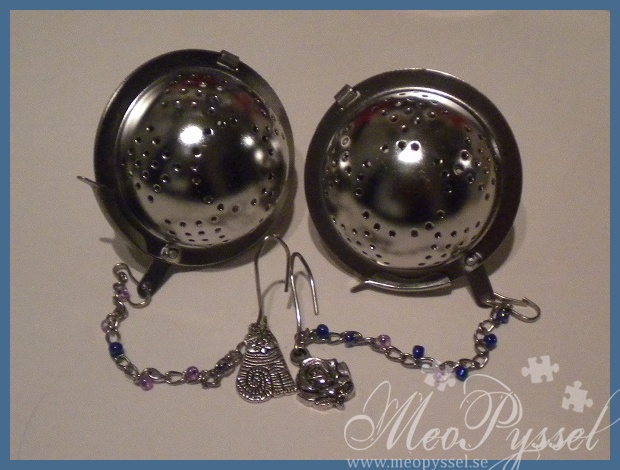
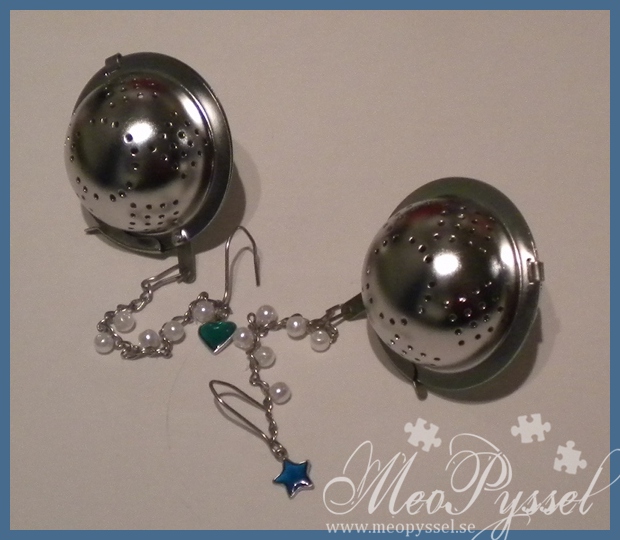
Last weekend, when i celebrated Christmas with my siblings i gave my brother and my sister 2 teaballs each that i had decorated. I had totally forgot all about them until i saw the pictures in my camera when I were preparing for the magnolia card I just published, but here they come…

I got the idea from Tina that told me that she had done decorated tea-balls for a friend. Unfortunately i did mine in last second, that last one was finish 5 min after my mother said that we would start heading over to their place for the celebration.

I had a very clear image in my head of how they would look and i can honestly say that the end result is nothing near what i had in mind, but i’m happy anyway. My tip for anyone that does this is to replace the original chain with one made with the rings you have decorated and some empty.

I didn’t get a good result decorating the chain with adding metallic loops with pearls so I ended up adding the pearls to the already existing chain with nylon wire instead. In the end of all the chains I fastened a charm. Another problem that struck me was that i only had 4 colors of pearls and that i should have bought some that wasn’t blue and purple:P

Next time I want mine to look more like these, and i think it’s a good idea to use pearls that only is attached on one side, like Evelina did.

4 teaballs, some pearls and nylonwire.

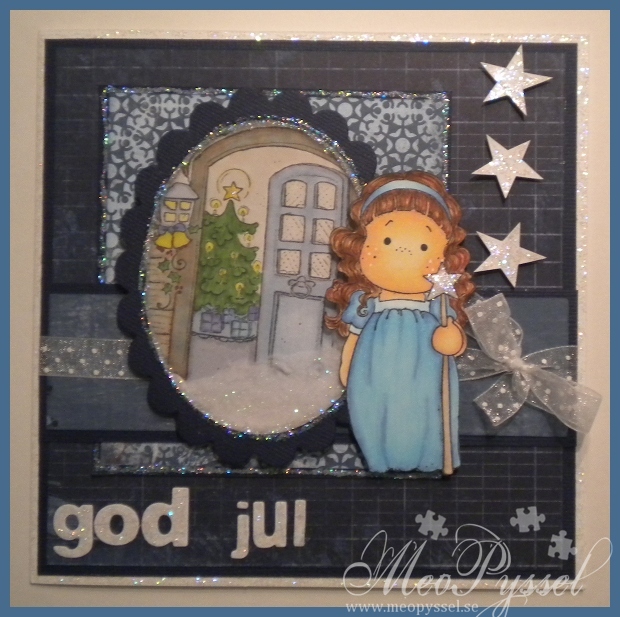
A White and very Blue Shaker ”Star Tilda”

So i wanted to do my first shakercard for this blog. I did one long before the blog started but let’s just say that it was in the begining and every time i see it on my mothers shelf i wish she would take it down.

So i wanted to use one of my favorite stamps: Magnolia’s Star Tilda.I did color this one a while ago and i found Bo Bunny’s Midnight Frost to suit her well, so i kept going. And if you know me I’m crazy for blue so it got the be a very blue card with hints of white. On the scrapmeeting a while back i stamped some background that my friend Linda had so i deiced that one of them would be in the shaker. I colored it lightly with lots of gray and blender pen so it wouldn’t take to much of the focus away from Star Tilda. The shaker is is made by oval and scalloped oval nestabilities. The plastic is from an nestabilitiepackage and the filling is white flocking from You Do. As an after thought i think that card would have looked better white the scalloped edge white and the flocking should have been handled more, now when you hake the card the flocking has a tendency to clump a bit.

The stars and letters have been cut from a white (with small blue lines) paper from the collection. The letters are die cut with a Double Do alphabet and the stars i stamped with a stamp i had (on the backside of the paper) and the cut by hand. Both the letters and the stars have been covered with stardust stickles. The rest of the card and the star Tilda holds is also coated with stardust. The ribbon is a white dotted organza ribbon.

Stamp: Magnolia – Star Tilda an Welcome to a Sweet Christmas.

Copic: E31, E33. E35. E37, E39, B45, B21, B00, E00, E21, E51, E11, 0, E43, E41, C2, C4, Y19, Y15, Y21, R39, E40, E41, BV13, BV04, B91, B93, YG17, YG67, E31, E33, E35

Paper: Bo Bunny – Midnight Frost

Other: White Gelly Roll-pen, Stardust Stickles. Spellbinders – Nestabilities- Oval and Scalloped Oval. Double Do – Alphabet. You Do – white flocking